Camera Settings vs Car Photo Corrections: Fix the Right Stage
Choose whether a problem needs a better capture or an optional software correction. Compare controlled examples without treating them as a camera-settings test.
By HeyDreaming
Published by HeyDreaming, which supplies the tools described. Examples reuse dated internal QA on public-source images, not customer results. The worksheet is manual and does not add product functionality.
When vehicle photos look unappealing online, dealership teams often debate whether the fault lies with camera handling or editing software. Understanding camera settings vs car photo corrections requires knowing whether to test an available correction or improve the capture instead. Relying on software to compensate for poor lot lighting, out-of-focus lenses, or harsh glare does not supply a missing view or a reliable record of absent detail.
To review baseline camera setup, exposure values, and lot positioning, consult our foundational guide on car photography camera settings.
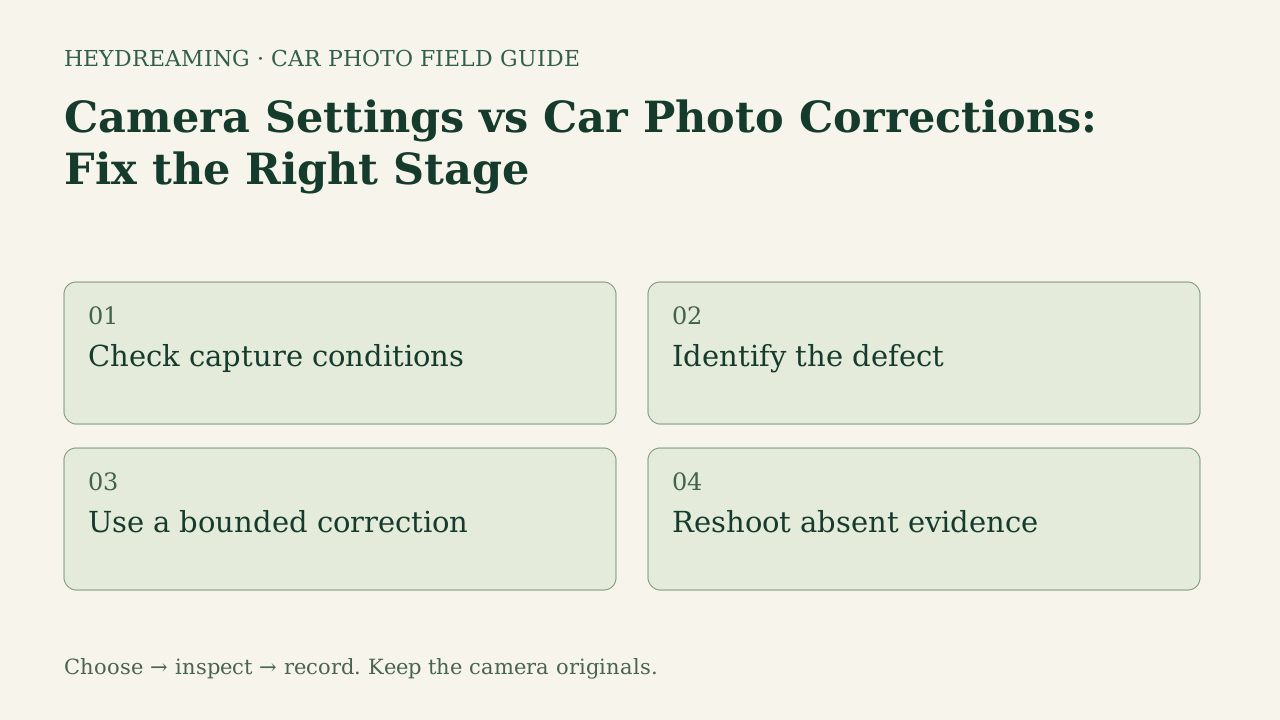
Open the full camera settings vs corrections workflow diagram (SVG)
Note: The diagram above is an explanatory workflow mapping stage-decision checkpoints, not a measured statistical chart.
Controlled Fixture Disclosure
To evaluate how post-capture corrections behave under measurable conditions, HeyDreaming recorded internal QA benchmark runs on October 31, 2026, using an intentionally and artificially modified test fixture. The source image—a public-domain photo of a 2011 Mazda3 sedan—was deliberately pre-processed prior to upload:
- Artificially induced color cast: Red, green, and blue channels were multiplied by [0.90, 1.00, 1.12], creating an intentional blue-cyan bias.
- Artificially induced tilt: The frame was rotated 3 degrees counter-clockwise on an expanded black canvas.
- Re-encoding: Saved at JPEG quality 95 before standard browser upload preparation.
This fixture demonstrates software behavior under controlled conditions. It was not an empirical camera experiment measuring shutter speeds or sensor ISO invariance, nor does it establish physical paint calibration or an independent horizon standard.
Software Behavior on the Controlled Test Fixture
In HeyDreaming, optional white balance and horizon leveling are disabled by default. When enabled, the tool executes automated algorithmic calculations across the image; it does not provide manual RGB gain sliders or user-entered degree input fields.
During internal test runs on the Mazda fixture, testing the combined correction path (both color balance and leveling enabled) produced measurable algorithmic transformations:
- Operational color gains: The algorithm calculated and applied global channel multipliers of [1.1216, 1.0059, 0.8975], counteracting the artificial blue cast.
- Operational horizon leveling: The software calculated a rotation correction of 2.77 degrees, an estimated software transform, not a physical level measurement.
- Separate color-only comparison: The 960,593 of 986,068 changed-core count belongs to default versus color-only lossless masters using the same prepared input and mask. It is not a combined-rotation pixel comparison. The two images below show default versus both corrections for visual inspection only.
Compare the baseline output against the combined correction output below:
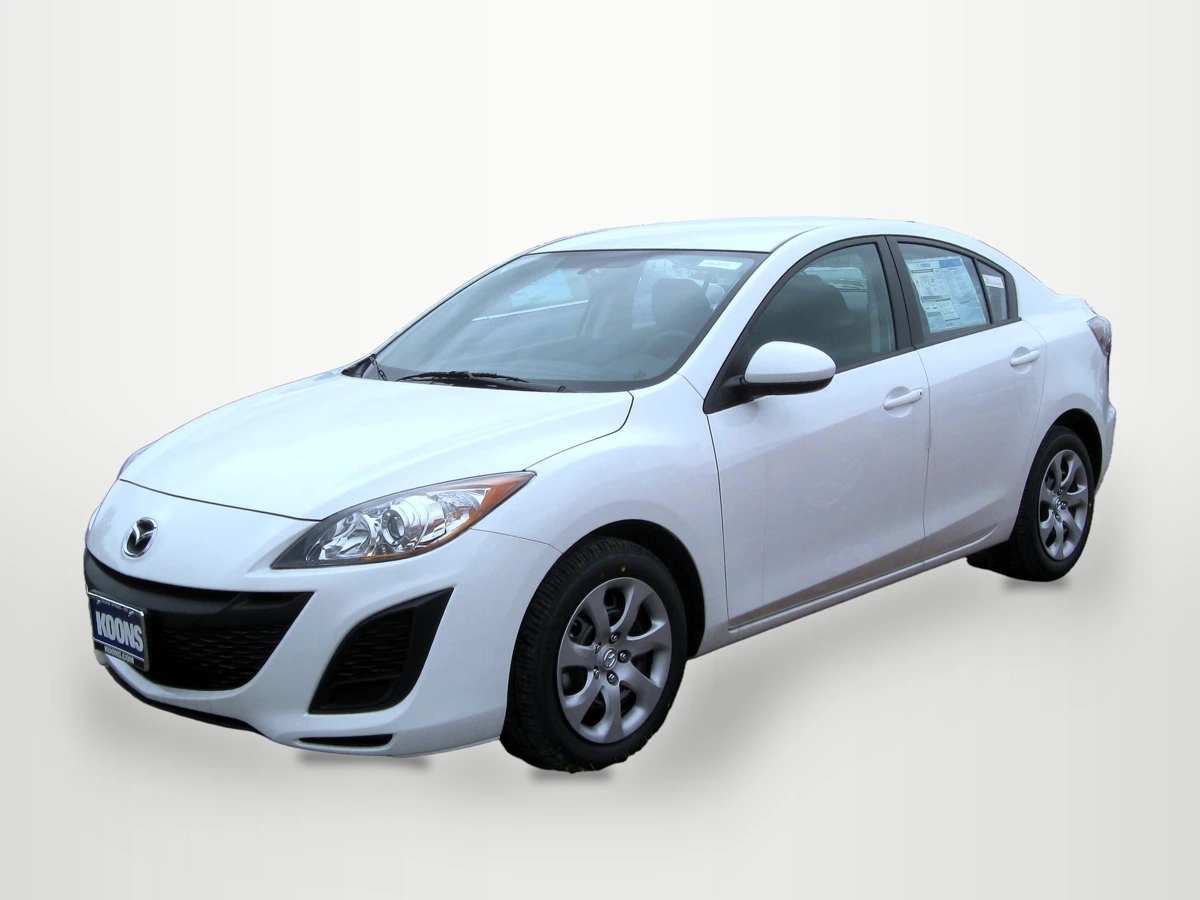
2011 Mazda3 sedan photographed by IFCAR (Public domain). Output image generated with HeyDreaming default settings without corrections; background replaced, scaled to 1920x1440, and re-encoded to WebP preview for web display.

WebP previews are compressed versions of actual downloads. This preview shows default output on the artificially altered Mazda fixture without color or leveling corrections applied.
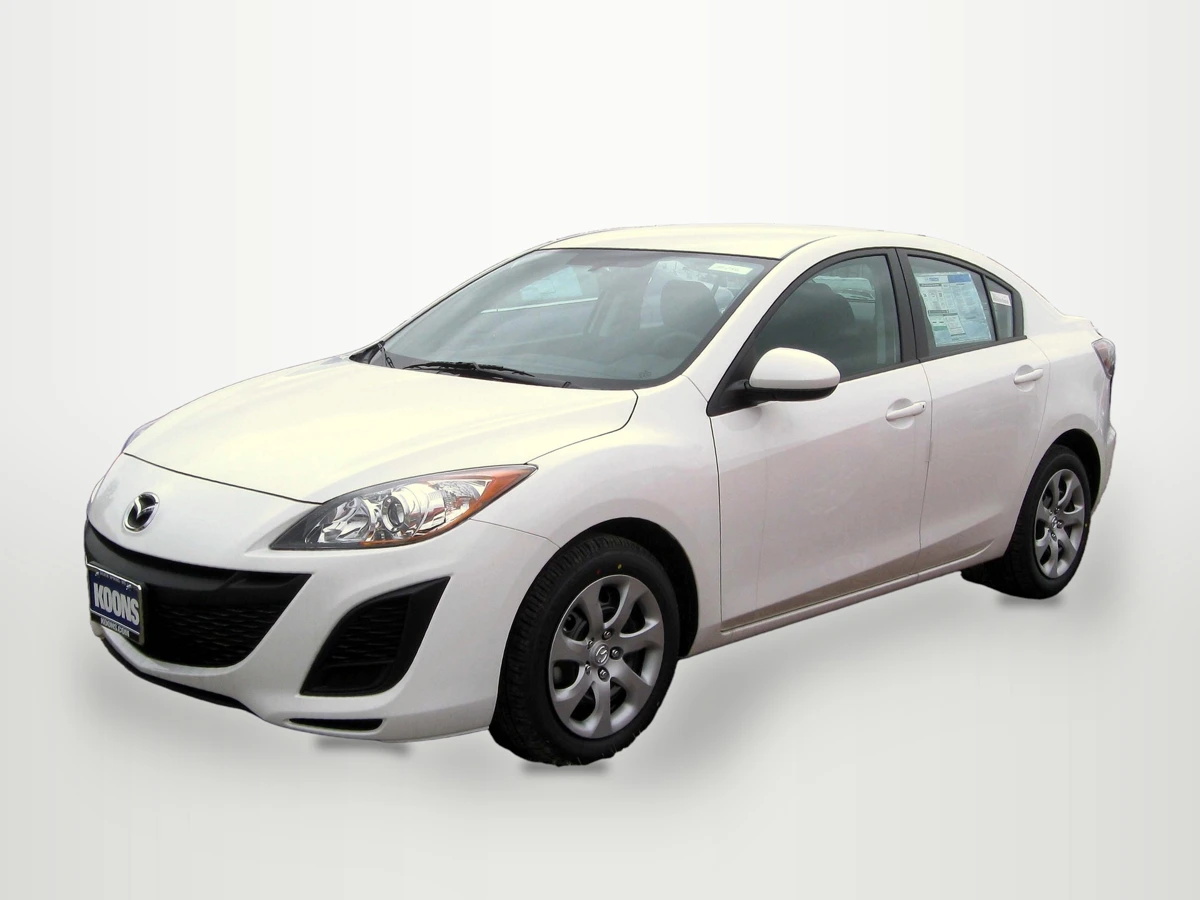
2011 Mazda3 sedan photographed by IFCAR (Public domain). Output image generated with HeyDreaming combined color and leveling corrections; background replaced, scaled to 1920x1440, and re-encoded to WebP preview for web display.
WebP previews are compressed versions of actual downloads. This preview shows the output after applying both optional color gains [1.1216, 1.0059, 0.8975] and automated 2.77-degree horizon leveling to the artificially altered test fixture.
Capture-Stage Fixes vs. Post-Capture Software Limits
HeyDreaming offers two bounded correction suggestions. Inspect whether one helps the actual source; other problems may require a better capture.
Problems for Which an Optional Software Comparison May Help
- Ambient color casts: Compare default and optional color correction for a documented source cast. A single global gain cannot independently correct different colored illumination on separate panels.
- Minor horizon tilt: Compare the level suggestion with source geometry and framing. A sloped ground line is not itself proof that the camera or vehicle should be rotated.
Problems This Flow Does Not Repair
- Motion blur and missed focus: If a photographer shoots with too slow a shutter speed or misses optical focus, high-frequency image data is lost. Software background replacement cannot synthesize sharp badges or headlight textures from blurry pixels.
- Harsh glare and specular blowouts: Direct midday sunlight reflecting off vehicle hoods blows out pixels to pure white. This HeyDreaming flow does not remove glare or relight paint. Review the lighting and angle, and recapture when needed; it is not a test of filters or every other editing technique.
- Crushed shadow detail: Underexposing dark vehicles crushes undercarriage detail into pure black. Background compositing cannot recover missing shadow information in this flow. Inspect the original capture before concluding all shadow information was lost.
- Obstructed or clipped framing: If a bumper is cropped out of the frame or partially hidden behind another car, this flow does not reconstruct missing geometry. Proper lot staging must occur before capturing.
Because cameras and smartphones vary in sensor size and native processing, dealerships should avoid prescribing universal smartphone camera settings. Staging protocols must adapt to local lot conditions.
Put your car on a clean background
20 free AI photo edits a day. Copy your source vehicle onto a fixed background, then check the outline and plate cover. Sign in to start; no credit card needed.
Stage Allocation Decision Matrix
The table below outlines how dealership staff should categorize and resolve common visual defects:
| Visual Defect Observed | Correct Stage to Fix | Recommended Action | Post-Capture Software Limit |
|---|---|---|---|
| Strong Color Cast | Post-Capture or Camera | Enable optional automated white balance | Applies global transform; cannot fix mixed lighting |
| Horizon Roll | Post-Capture or Staging | Enable optional automated leveling | Inspect changed framing; no universally correct rotation |
| Motion Blur / Soft Focus | Improve capture | Increase shutter speed; lock AF on badge | Software cannot restore lost optical detail |
| Harsh Glare / Hotspots | Improve capture | Rotate circular polarizer; reposition car | Software does not remove glare or relight paint |
| Crushed Undercarriage | Improve capture | Review exposure and lighting; retake while checking highlight detail | This flow does not recover absent detail |
| Clipped Vehicle Bumper | Improve capture | Step back and re-frame vehicle | Software cannot synthesize missing body panels |
Using the Camera Settings vs. Corrections Worksheet
To help staff identify whether defects require reshoots or software adjustments, download our manual operational worksheet:
Download the camera settings vs car photo corrections worksheet (CSV)
The manual CSV provides four structured rows: strong color cast, horizon roll, motion blur or missed focus, and glare or missing detail. Reviewers log stock_number, source_filename, observed_result, decision (Software Correction, Reshoot, or Accept Baseline), reviewer, next_action, and notes.
This worksheet is a manual operational log. It does not connect automatically to camera hardware or dealer management systems. Quality supervisors review sample batches, mark whether defects stem from camera handling or software settings, and provide targeted feedback to lot photographers.
Practical Tool Capabilities and Scope
When managing image processing within HeyDreaming, keep documented platform boundaries in mind:
- Optional corrections are off by default: White balance and horizon leveling must be manually toggled. They execute automated mathematical calculations rather than providing manual sliders or degree inputs.
- Four fixed backdrop presets: HeyDreaming provides White sweep, Light grey, Dark grey, and Showroom soft. Changing backdrops alters the composite canvas, but does not repair a flawed segmentation outline or fix camera focus errors.
- Daily edit allowances: Free accounts provide 20 daily edits, while Pro ($29/month) and Max ($99/month) tiers provide 100 daily edits. Single-photo correction passes debit daily quotas as independent jobs.
- Glass views remain visible: Background replacement isolates exterior sheet metal, but views and reflections captured through window glass are preserved.
Frequently Asked Questions
Does this HeyDreaming workflow repair a photo taken out of focus?
There is no focus-restoration control in this flow. Background replacement does not establish missing badge or condition detail. If the needed detail is absent in the source, recapture it rather than treating a synthesized sharp-looking replacement as evidence.
Why inspect glare before processing?
A saturated highlight can hide the detail you need to show. This flow has no glare-removal control; inspect a different source view or recapture under lighting that reveals that area. No camera/filter comparison was conducted for this article.
When should staff enable automated horizon leveling in software?
Try the offered suggestion only after reviewing source orientation. Compare the saved framing and visible geometry with default; do not use a sloped parking surface as a calibrated horizon. For an inadequate capture, improve camera setup and recapture.
Immediate Next Step
Classify one source problem in the worksheet first. For a plausible global cast or orientation issue, compare default with the offered correction in the AI car photo editor and reopen the saved files. For absent focus, framing or glare-hidden detail, improve the capture instead of spending another background-edit job.
Put your car on a clean background
20 free AI photo edits a day. Copy your source vehicle onto a fixed background, then check the outline and plate cover. Sign in to start; no credit card needed.
Keep exploring