How to Review Car Photo Before and After Comparisons
Match the source and display scale when reviewing before-and-after car photos. Learn what an unchanged core can show and what outline inspection still needs.
By HeyDreaming
Published by HeyDreaming, which supplies the tools described. Examples reuse dated internal QA on public-source images, not customer results. The worksheet is manual and does not add product functionality.
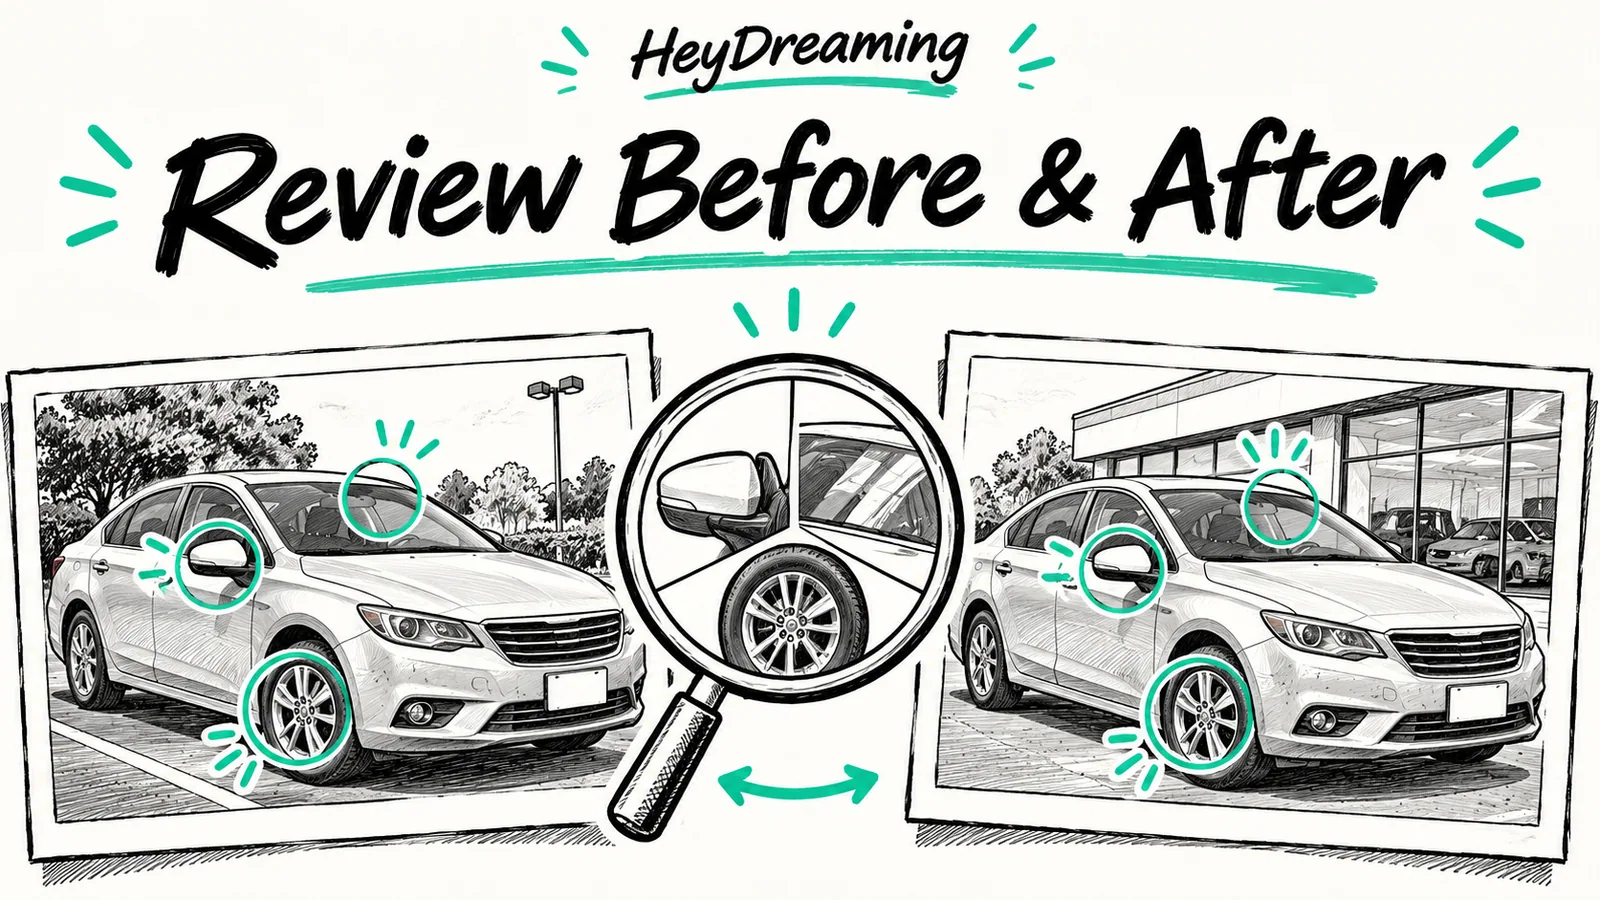
Evaluating marketing before-and-after comparisons requires a disciplined inspection method. When assessing AI background replacement, a small side-by-side slider may hide cutout defects, compression artifacts, and color shifts. A methodical car photo before and after review compares the prepared source file against the final exported asset at consistent display scale, separating internal body stability from boundary edge accuracy.
To diagnose common cutout errors and boundary artifacts in depth, consult our guide on car background removal problems, alongside our operational checklist in the car photo quality checklist and our technical overview of car photo white balance.
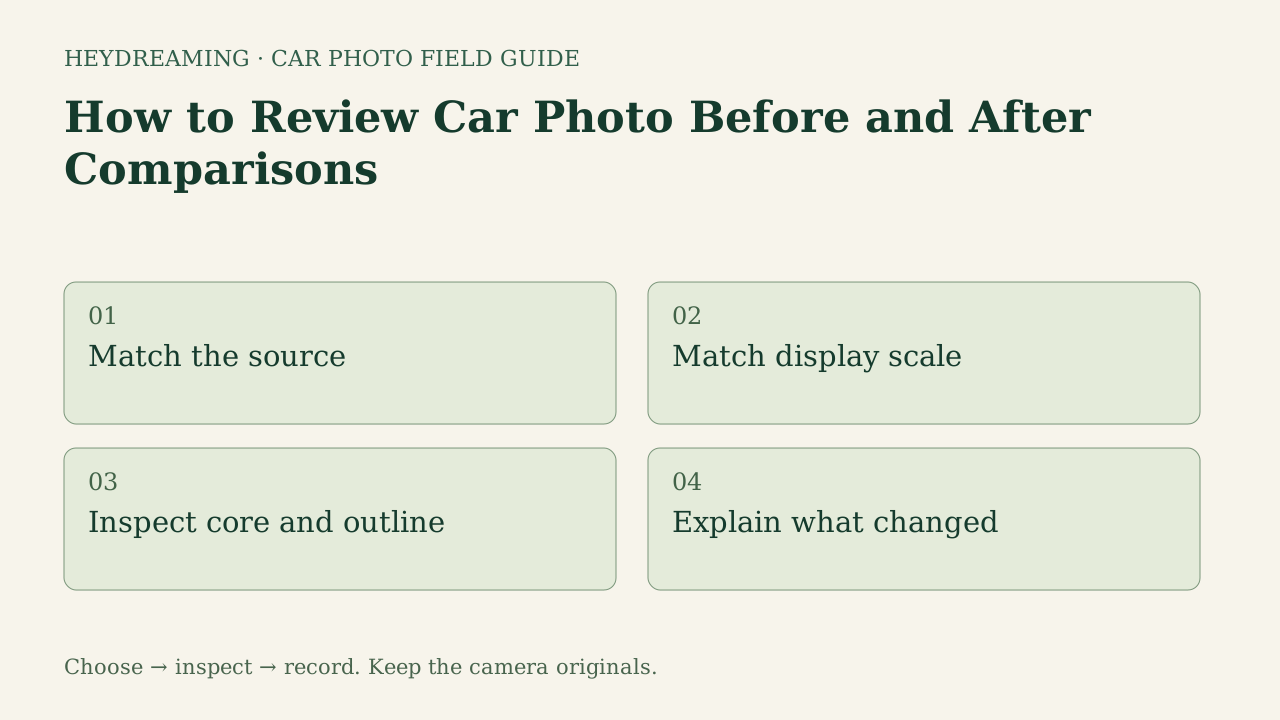
Open the full before and after review diagram (SVG)
Note: The diagram above is an explanatory workflow mapping comparison review checkpoints, not a measured statistical chart.
Comparing at Consistent Display Scale
First confirm that you have the same source and understand the output transformation. Different dimensions, padding or leveling can move the car; do not compare arbitrary pixel coordinates without alignment. Sliders presented in web browsers often downscale high-resolution assets to fit screen layouts. When an image is dynamically scaled by a browser engine, resampling can change the visibility of edge fringing, stair-stepping and compression artifacts.
For a repeatable visual review, staff open both the prepared source upload and the rendered export in an image viewer at 100% (1:1 pixel) zoom. This reveals each file’s decoded pixels. Also compare matched vehicle regions at a consistent subject scale, record padding/rotation/resizing, and inspect the destination preview separately. Do not resample a source and then call it the untouched source.
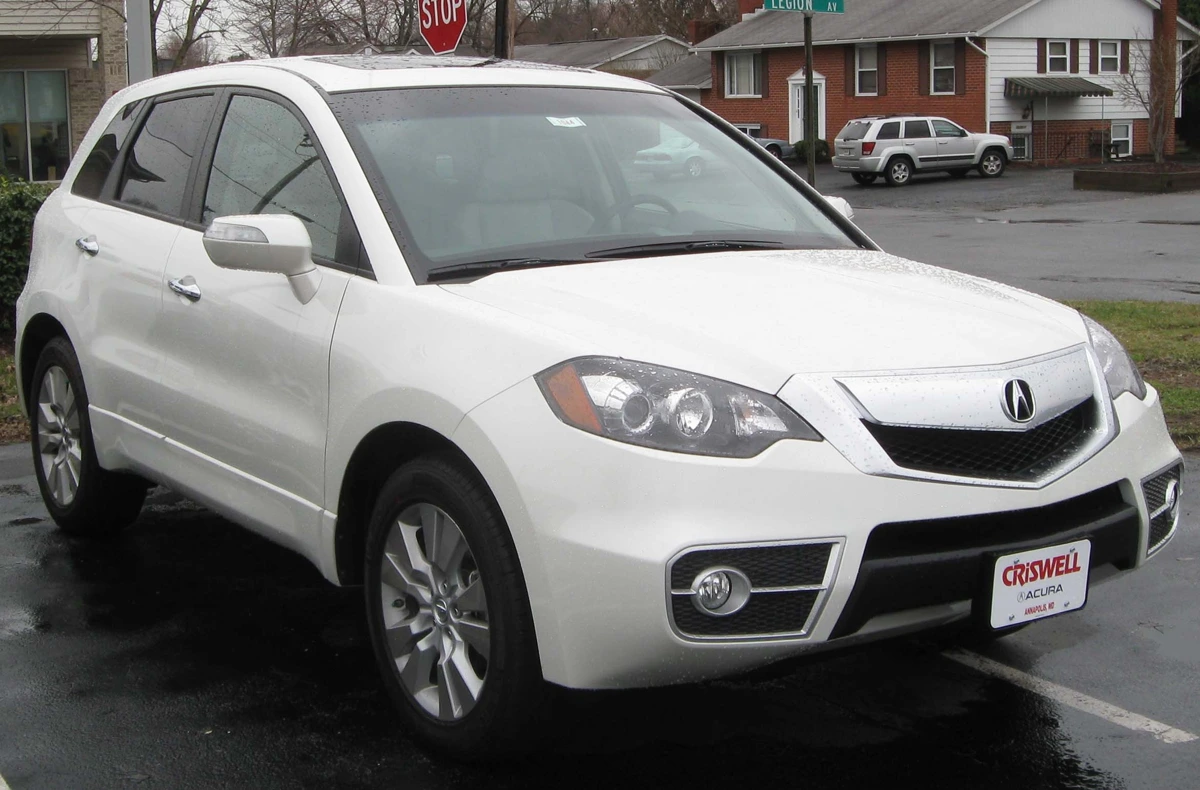
2010 Acura RDX photographed by IFCAR (Public domain). Source image re-encoded as a prepared upload preview for web display.

A source preview is a re-encoded prepared upload, not untouched camera file. In before-and-after review, retain a link to the prepared upload, record its size, and identify any transform before comparing matching details.
Reading the Zero-Changed-Core Result
In HeyDreaming's internal QA test recorded on October 31, 2026, across eight background replacement jobs (evaluating a white 2010 Acura RDX and a black 2012 Honda Ridgeline Sport across four fixed presets), an eroded opaque vehicle core exhibited exactly zero different pixels across the four lossless PNG masters for each vehicle.
Understanding what this empirical measurement means is critical for quality evaluators:
- What zero changed core pixels proves: The sampled conservative opaque core had equal RGB values across the four lossless masters of each car. This comparison is between presets for the same input, not between two different cars, and alone does not establish pixel equality to the camera file or the downloaded JPEG.
- What zero changed core pixels does not prove: It does not prove that the estimated vehicle outline is correct. A segmentation mask can preserve 100% of the opaque hood while eroding a roof rack, cutting off an antenna tip, clipping a side mirror stalk, or leaving jagged green grass fringing around wheel wells. It also does not prove camera calibration, physical paint condition, or glass cleanup.
Inspect both body details and boundaries. The narrow core statistic is not a reason to skip condition checks or optional-correction review.
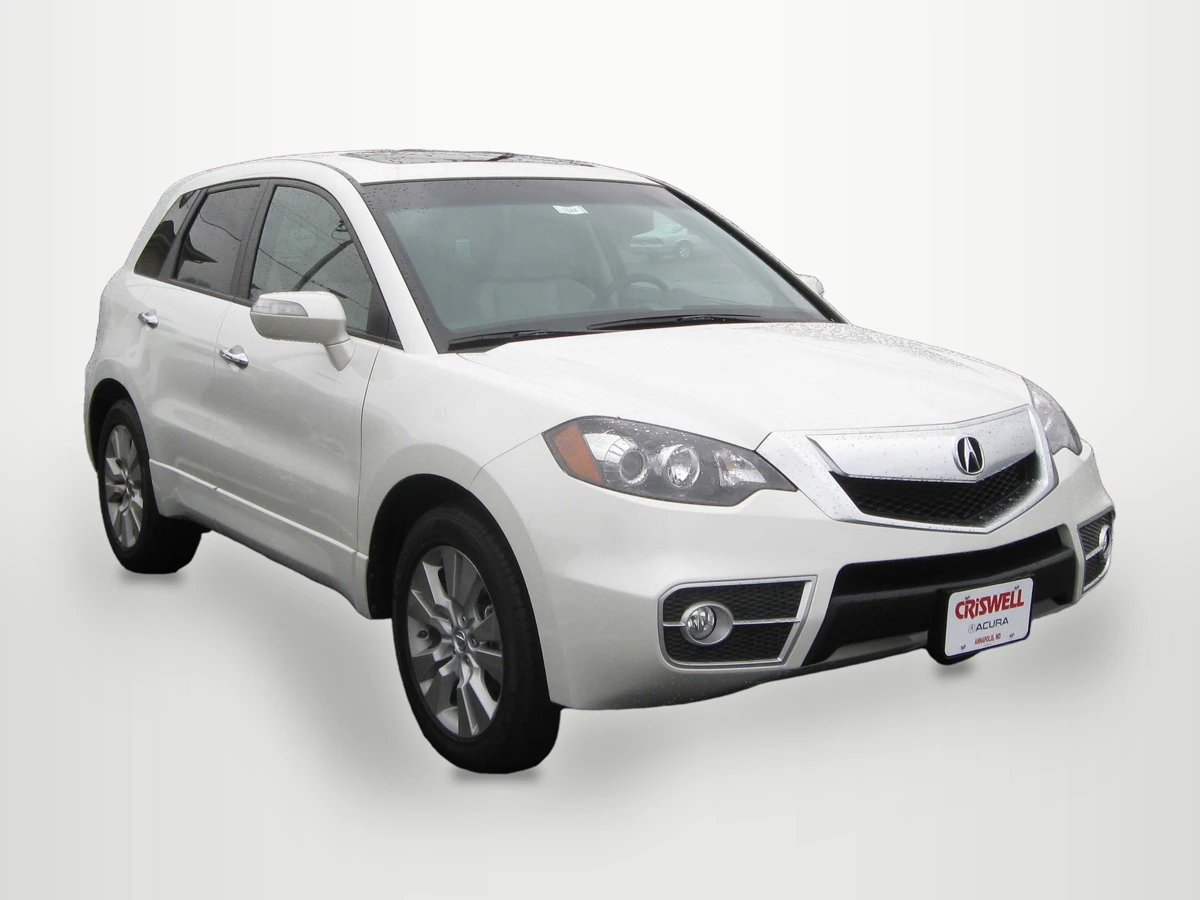
2010 Acura RDX photographed by IFCAR (Public domain). Output image generated with HeyDreaming White sweep preset; background replaced, scaled to 1920x1440, and re-encoded to WebP preview for web display.
WebP previews are compressed versions of actual downloads. This preview shows the processed White sweep output, illustrating why reviewers must check vehicle core stability, outer silhouette edges, tire ground contact, and window reflections.
The Six Before-and-After Inspection Stages
A thorough before-and-after audit evaluates six distinct visual criteria across the image:
- Same source and transformation: Confirm the review compares the exact prepared upload against the output asset, identifying whether optional global white balance or horizon leveling was applied.
- Same display scale: Review both frames at 100% pixel scale to evaluate true edge sharpness without browser interpolation.
- Core pixels: Visually compare visible details and tone, considering any selected corrections. A visual check cannot establish exact RGB equality or physical paint calibration.
- Silhouette outline: Inspect the entire vehicle boundary—especially rooflines, spoilers, side mirror stalks, fender contours, and tire arches—for mask erosion or unnatural edge halos.
- Glass and reflections: Check window glass transparency. The compositing engine preserves original interior views and exterior lot reflections visible through glass; inspectors verify that reflections look natural against the chosen neutral backdrop.
- Shadows and compression: Inspect contact shadows under tires to confirm the car appears firmly grounded on the studio floor, and check that lossy JPEG compression does not introduce color banding along smooth backdrop gradients.
Put your car on a clean background
20 free AI photo edits a day. Copy your source vehicle onto a fixed background, then check the outline and plate cover. Sign in to start; no credit card needed.
Inspection Criteria and Review Matrix
The table below summarizes the key focus areas, pass criteria, and common failure modes during a before-and-after audit:
| Inspection Stage | Evaluation Focus | Pass Criteria | Reject / Fail Mode |
|---|---|---|---|
| Source & Transform | Base image alignment | Same input; crop/rotation/scale recorded | Comparing a different input or ignoring a transform |
| Display Scale | 100% zoom inspection | Evaluated at 1:1 pixel scale | Reviewing small responsive thumbnails |
| Core Pixels | Central body panels | Visible condition/details checked; selected correction explained | Unintended color drift on sheet metal |
| Silhouette Outline | Boundary cut lines | Intact antenna, roof rails, and mirror stalks | Clipped mirror mount or jagged fender fringe |
| Glass & Reflections | Window transparency | Photographed cabin view and natural reflections | Opaque cutout patches or harsh outdoor clutter |
| Shadows & Bytes | Ground contact & JPEG | Natural tire shadow, clean gradient | Floating tires or severe blocky compression |
Using the Before-and-After Review Worksheet
To standardize visual auditing across your merchandising team, download our manual tracking template:
Download the car photo before and after review worksheet (CSV)
The template provides six structured rows matching each inspection check: same source and transformation, same display scale, core pixels, silhouette outline, glass and reflections, and shadows and compression. Reviewers log stock_number, source_filename, observed_result, decision (Pass, Redo, or Hold), reviewer, next_action, and notes.
This worksheet is a manual administrative tool. It does not interface automatically with dealer management systems or run automated image difference scripts. A digital merchandiser or quality lead opens the source and export files, steps through the six criteria, records observations, and signs off before releasing assets to inventory syndication feeds.
System Boundaries and Practical Constraints
When auditing images processed through HeyDreaming, keep documented platform boundaries in mind:
- Four fixed background presets: HeyDreaming provides White sweep, Light grey, Dark grey, and Showroom soft. The system does not create custom generative virtual architecture or relight vehicle panels.
- Glass views remain visible: Background replacement isolates exterior silhouettes, but views and reflections captured through window glass are preserved. Inspecting glass realism is an essential human check.
- Daily edit limits and redos: Vehicles mode supports up to 50 photos per car. Free accounts allow 20 daily photo edits, while Pro ($29/month) and Max ($99/month) tiers provide 100 daily edits. A new single-photo correction job uses daily allowance. Vehicle sets allow at most two redos per frame through a separate retry mechanism.
- Output dimensions: The selectable export option is 1920x1440 (4:3) or prepared original dimensions. Upload preparation caps the longest image dimension at 3000 pixels and re-encodes source files to JPEG.
Frequently Asked Questions
Why do window reflections remain visible after background replacement?
Automated tools isolate opaque body panels. Window glass contains complex semi-transparent reflections and interior views. HeyDreaming’s recorded outputs can retain the photographed glass views; this flow does not offer glass-background cleanup. Decide whether that retained view is acceptable or recapture with a different angle. This is a product boundary, not a claim about every editing technique.
What causes a vehicle to look like it is floating in the composite image?
Check source ground contact, cutout shape, placement, scale and shadow together. A mismatch in any of them can make the result look ungrounded. A plausible shadow does not independently establish a correct mask or geometry.
Can changing background presets fix a clipped side mirror stalk?
Changing backdrop tone does not alter the underlying segmentation mask. If an automated mask clips a thin mirror stalk due to low contrast against the original background, compare it with the source and choose an appropriate next step: retain the original, arrange a suitable external correction, or recapture if the source is inadequate.
Immediate Next Step
Select one recently edited vehicle photo. Open both the prepared source upload and the rendered composite file side-by-side at 100% zoom. Inspect the side mirror stalks, roofline and tire contact in an image viewer. If you need a comparison output first, process one owned photo in the AI car photo editor, save it, then document the comparison; the editor is not a pixel-difference audit tool.
Put your car on a clean background
20 free AI photo edits a day. Copy your source vehicle onto a fixed background, then check the outline and plate cover. Sign in to start; no credit card needed.
Keep exploring