Car Photo Quality Checklist: 15 Pass or Fail Checks
Check fifteen image-quality and evidence items before accepting car photos. Distinguish focus, outline, glass, condition and file checks from pixel statistics.
By HeyDreaming
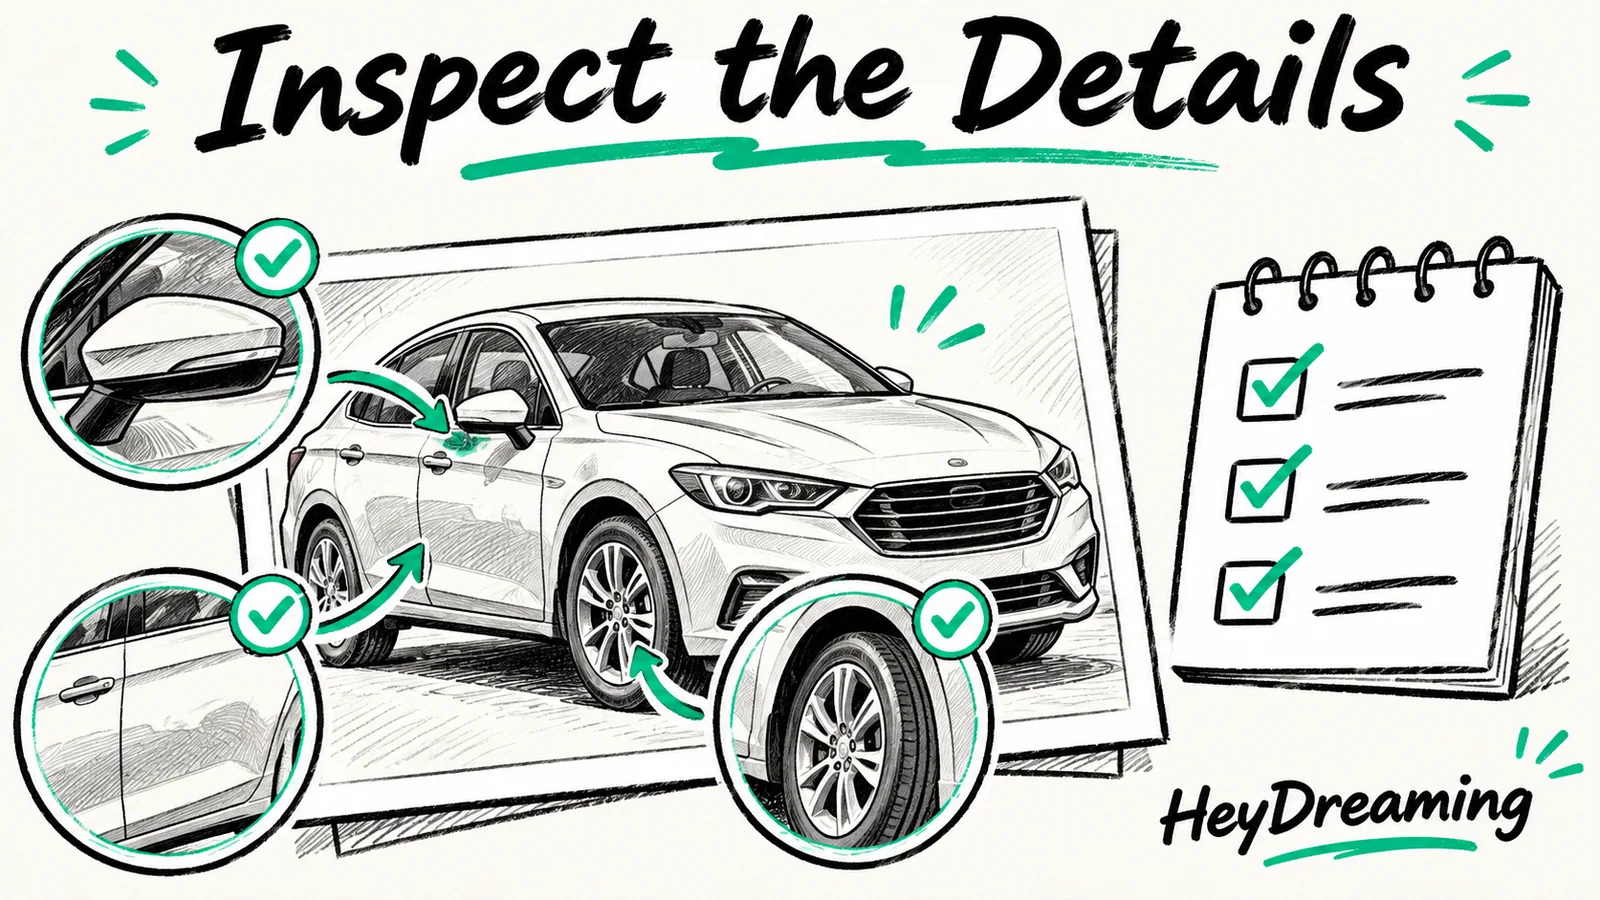
Published by HeyDreaming, which supplies the tools described. Examples reuse dated internal QA on public-source images, not customer results. The worksheet is manual and does not add product functionality.
Automated background replacement tools process vehicle images quickly, but software algorithms cannot determine whether an output meets dealership standards. A structured car photo quality checklist gives inventory teams a repeatable, image-level inspection routine. Rather than relying on casual browsing, reviewers evaluate fifteen pass-or-fail checkpoints covering camera capture, edge segmentation, glass realism, condition accuracy, and file handoffs.
To understand why automated cutouts fail and how to troubleshoot edge artifacts, review our guide on car background removal problems, alongside our framework for honest car photo editing and our protocol for car photo before and after review.
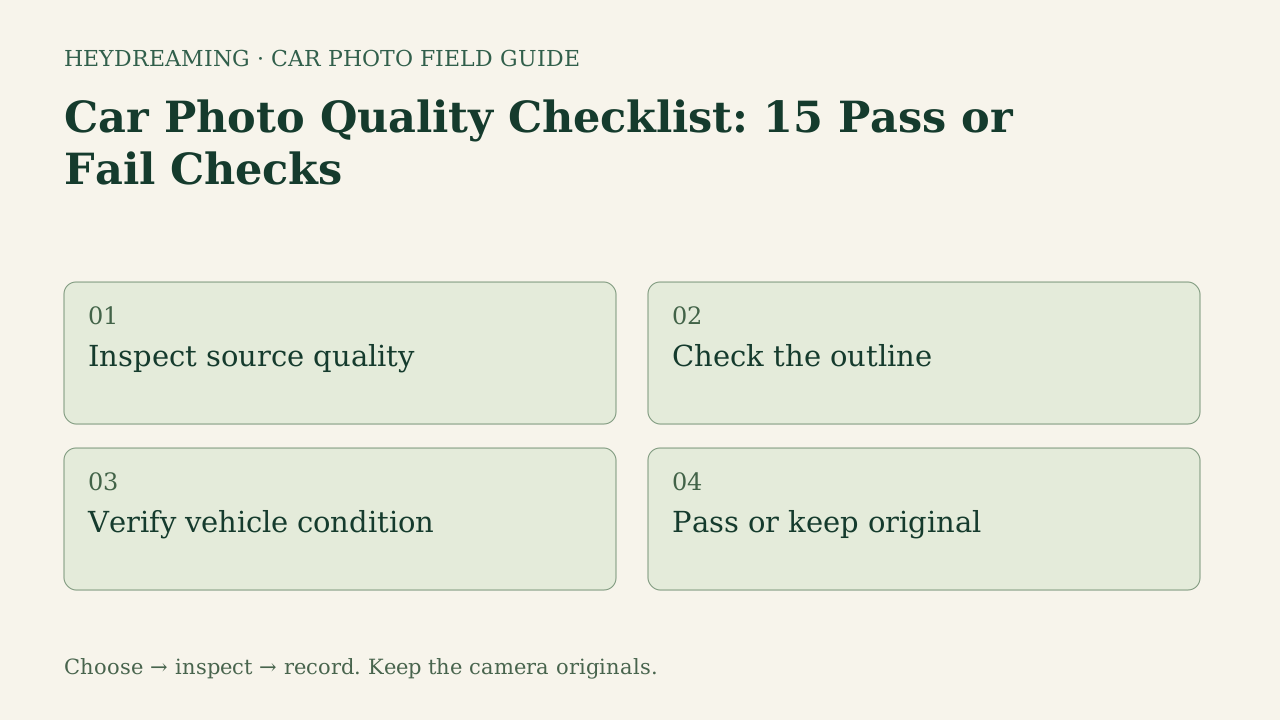
Open the quality inspection workflow diagram (SVG)
Note: The diagram above is an explanatory workflow mapping quality inspection checkpoints, not a measured statistical chart.
Core-Pixel Stability vs. Correct Silhouette Outlines
A common misconception in automated image QA is that consistent software execution guarantees an accurate cutout outline. In HeyDreaming's internal QA benchmark recorded on October 31, 2026, across eight background replacement jobs (evaluating two public-domain vehicles across four fixed presets), for each car separately, the conservative eroded opaque core had zero different RGB pixels across its four lossless PNG masters. The masks were also identical for that car. This compares presets for the same input, not the two different vehicles.
That result verifies equal sampled RGB values in these masters. It does not establish physical paint-color accuracy, equality of compressed downloads, or unchanged pixels outside that core. However, it does not confirm that the vehicle outline was correctly identified. An AI segmentation model can reliably preserve the center of a hood while clipping a thin roof antenna, flattening tire contact patches, or leaving jagged halos around side mirrors. Reviewers must inspect the outer silhouette where vehicle geometry meets the composite backdrop.
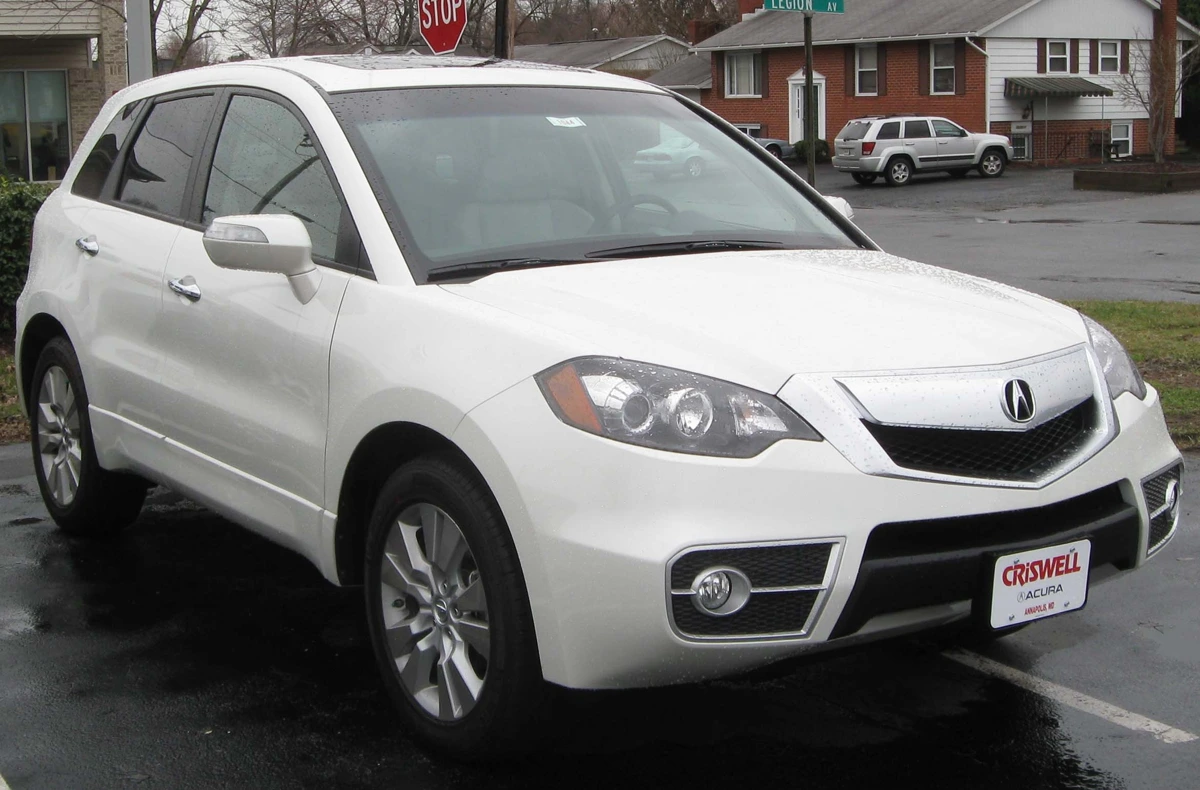
2010 Acura RDX photographed by IFCAR (Public domain). Source image re-encoded as a prepared upload preview for web display.

A source preview is a re-encoded prepared upload, not untouched camera file. In quality inspection, reviewers must verify raw capture focus, exposure, and physical vehicle completeness before evaluating automated cutout processing.
The 15 Image-Level Pass or Fail Checks
This quality framework evaluates images across capture integrity, silhouette segmentation, cosmetic compliance, and digital delivery:
- Stock identity: The vehicle pictured matches the exact stock number, trim, and VIN in dealership records.
- Source focus: Badges, headlights, and body contours show sharp optical focus without motion blur.
- Source exposure: Highlights are not blown out and undercarriage areas retain discernible detail.
- Required angles: The image satisfies an assigned role in the team’s agreed sequence (e.g., front 3/4 hero).
- Whole vehicle visible: For a whole-vehicle view, the car fits inside the frame without clipped bumpers or rooflines; a planned detail photograph has a different role.
- Roofline outline: The mask smoothly traces roof contours, rails, and antennas without stair-stepping.
- Mirror outline: Side mirrors and mounting stalks are fully preserved without artificial gaps.
- Wheel and tire outline: Round tire treads remain circular without flattened segments or floating tires.
- Glass and cabin view: Compare glass with the source; check cabin details and reflections. Background clutter visible through glass can remain and requires an acceptance decision.
- Body condition: Preexisting cosmetic dings, scratches, or chips remain unaltered; tools must never erase damage.
- Plate coverage: Any required plate cover is correctly placed and other visible plates are checked. This is not a guarantee of anonymity.
- Selected correction: Only the optional corrections explicitly selected are applied. Compare changed color and orientation with the source; there is no universal three-degree acceptance limit.
- Output dimensions: The asset matches the destination’s agreed dimensions and aspect ratio. HeyDreaming offers 1920×1440 or prepared original dimensions; neither is a universal listing rule.
- Format and bytes: The actual saved files have the agreed format and byte size; inspect compression artifacts at normal viewing size and at 100%.
- Camera originals archived: Untouched camera originals are archived separately from prepared uploads and delivered files, in the team’s chosen storage.
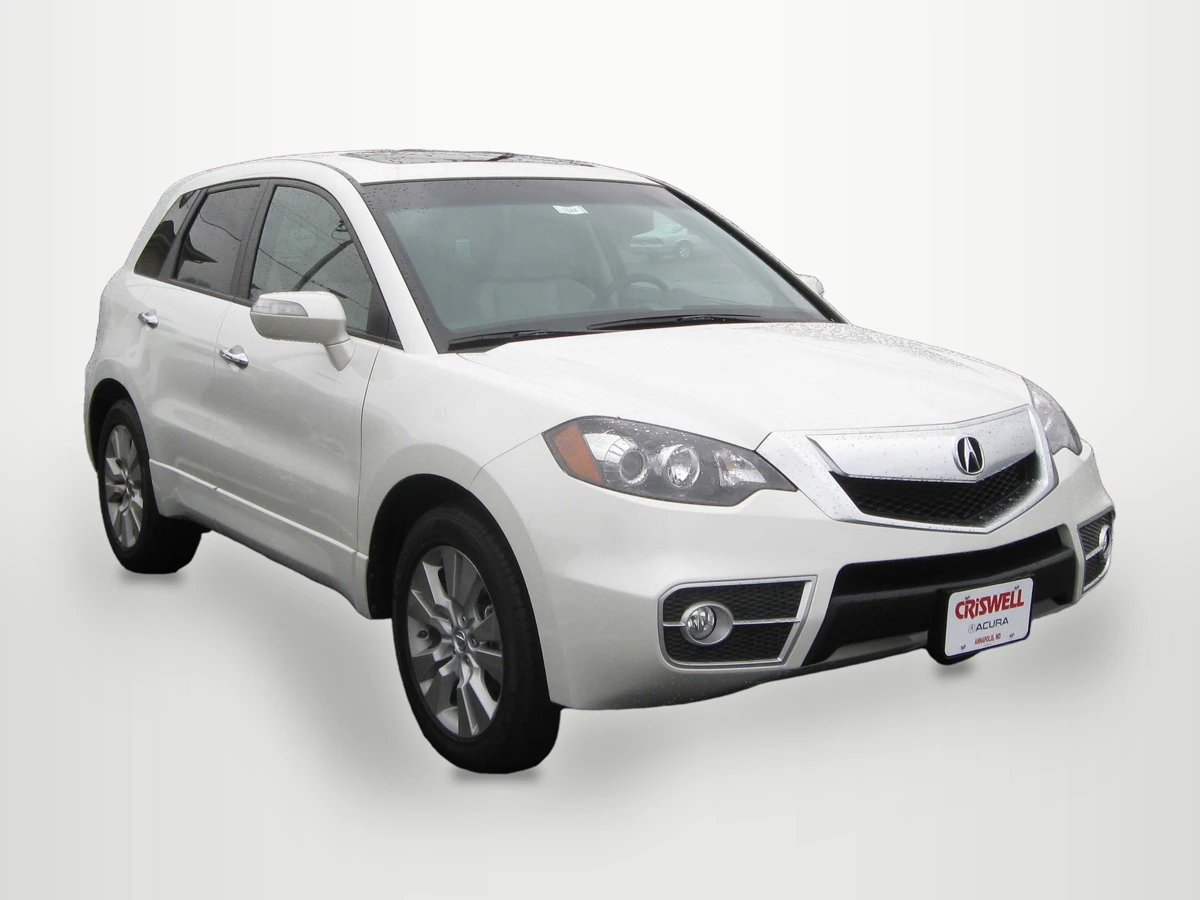
2010 Acura RDX photographed by IFCAR (Public domain). Output image generated with HeyDreaming White sweep preset; background replaced, scaled to 1920x1440, and re-encoded to WebP preview for web display.
WebP previews are compressed versions of actual downloads. This preview illustrates the White sweep replacement output, showing why reviewers must check rooflines, side mirror stalks, tire contact shadows, and window reflections.
Prepare one stock-number set
Sign in to create a vehicle, upload up to 50 photos and review the results before exporting. Daily editing allowances apply.
Quality Inspection Decision Matrix
The table below outlines inspection criteria, potential defects, and corrective actions across the fifteen checkpoints:
| Check Category | Pass Criteria | Reject / Fail Trigger | Immediate Next Action |
|---|---|---|---|
| Capture Baseline | Sharp focus, balanced light, complete car | Blown highlights, clipped bumper, blur | Reshoot vehicle in staging bay |
| Silhouette & Edges | Smooth contour, intact mirrors, round tires | Clipped mirror stalk, jagged fender halo | Compare source and mask; keep original, use an agreed external correction, or recapture |
| Glass & Interior | Natural transparency and source reflections | Opaque cutout patches, harsh lot remnants | Inspect source lighting and reflection angle |
| Condition Integrity | Visible condition matches the source; required covers correctly placed | Erased scratch, unmasked customer plate | Keep the unaltered source; fix missed plate coverage in a tool with manual boxes |
| Export & Archive | Agreed dimensions and format; untouched camera original archived | Downscaled low-res file, missing original | Export to the agreed specification; archive the original capture |
Using the Downloadable Quality Checklist Worksheet
To implement this inspection routine across your lot photography workflow, download our standardized manual worksheet:
Download the car photo quality checklist worksheet (CSV)
The worksheet contains fifteen pre-populated rows: stock identity, source focus, source exposure, required angles, whole vehicle visible, roofline outline, mirror outline, wheel and tire outline, glass and cabin view, body condition, plate coverage, selected correction, output dimensions, format and bytes, and camera originals archived.
Staff members use blank columns to record stock_number, source_filename, observed_result, decision (Pass, Fail, or Reshoot), reviewer, next_action, and notes. This worksheet functions as a manual operational log. It does not interface automatically with dealer management software or pull metadata from cameras. Choose a review cadence and owner appropriate to your operation; this example does not establish an adequate sample size or weekly schedule.
System Capabilities and Operational Boundaries
When applying this checklist within HeyDreaming, teams should note documented software boundaries:
- Four fixed backdrop presets: The platform provides White sweep, Light grey, Dark grey, and Showroom soft. It does not generate custom virtual sets, relight vehicle paint, or synthesize complex reflections.
- Glass views remain visible: Background replacement isolates exterior silhouettes, but views and reflections captured through window glass are preserved.
- Daily edit limits and redos: Vehicles mode supports up to 50 photos per car. Free accounts allow 20 daily photo edits; Pro ($29/month) and Max ($99/month) tiers provide 100 daily edits. Starting another single-photo correction job uses daily allowance. Vehicle sets allow at most two redos per frame; redo accounting is not interchangeable with a new single-photo job.
- Upload re-encoding: Browser upload preparation caps the longest image dimension at 3000 pixels and re-encodes images as JPEGs. Reviewers must verify that untouched camera originals remain stored locally.
Frequently Asked Questions
Why does a stable core-pixel test not guarantee an acceptable cutout?
A core-pixel test verifies that pixels deep inside the vehicle body were copied without degradation. Cutout errors can occur at exterior boundaries—such as roof antennas, side mirror mounts, spoiler edges, and tire ground contact points.
What should an inspector do if a side mirror stalk is clipped?
Changing the background can reveal or hide a fringe, but it does not repair a clipped mirror. Compare the source and output; keep the original, arrange a suitable external correction, or recapture if the source is inadequate. HeyDreaming has no manual mask brush in this flow.
Can photo editing tools remove physical vehicle scratches or dings?
Some image tools can alter those details, but concealing them is outside HeyDreaming’s stated car-photo workflow. Preserve the source and inspect condition details; a checklist or photograph does not independently establish the car’s physical condition.
Immediate Next Step
Start with a small, clearly identified set of edited photos from your inventory; this is a practice exercise, not a validated sampling plan. Run them through the fifteen checks above, paying close attention to mirror stalks, rooflines, and window glass. Test any marginal frames in the AI car photo editor to compare source, outline and saved output. Escalate a failed mask instead of assuming a different preset will repair it.
Prepare one stock-number set
Sign in to create a vehicle, upload up to 50 photos and review the results before exporting. Daily editing allowances apply.
Keep exploring