How to Make Car Photos Look Professional Without a Photographer
Shoot dealer or private-sale car photos on a phone, then edit them to look professional. Includes what 90 marketplace lead photos have in common, a 12-shot order and honest limits.
By HeyDreaming
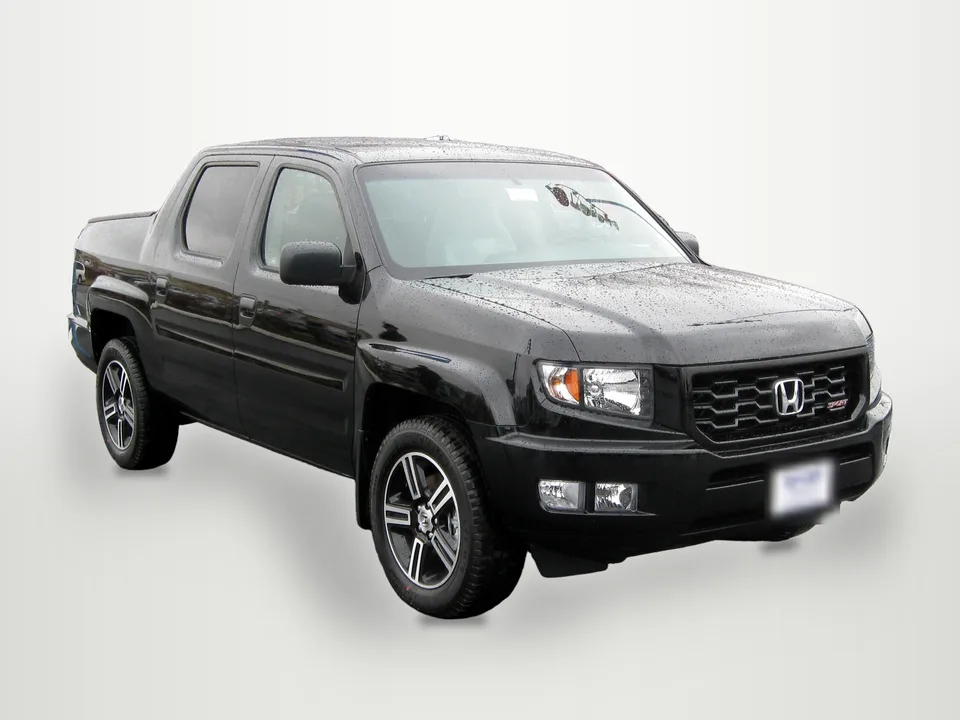
Prepared by HeyDreaming, which makes the linked car photo editor. The marketplace counts are our own visual review of one results page set and are not a market survey. Examples use credited, openly licensed photos. This is not evidence that any edit increases sales.
You can get professional-looking car photos without a photographer. Most of what reads as "professional" is consistency, not equipment: every car shot from the same angles, at the same height, in even light, with nothing distracting behind it and the car filling the frame by the same amount.
A phone does the capture. The rest is a short routine: clean the car, park it somewhere plain, shoot a fixed list of angles at headlight height, then edit for background, framing and plate cover. A small lot can run this on every vehicle; a private seller can do it once in about an hour.
What "professional" looks like on a real marketplace
On November 9, 2026 we looked at 90 lead photos on CarGurus results pages for zip code 94086 and sorted them visually. We classified them twice, independently: once by hand and once with an AI image model. Where the two passes disagreed, both counts are shown.
| What the lead photo had | Count of 90 | Share |
|---|---|---|
| A dealer name, phone or website band | 60–62 | 67–69% |
| A replaced background | 37–42 | 41–47% |
| A real photo with a band added, no new background | 33–37 | 37–41% |
| A real photo with nothing added | 15–16 | 17–18% |
The replaced-background photos had four things in common:
- A wall and a floor. A white or light grey wall on top, a grey floor below, with a visible line between them.
- A shadow under the car. Tight to the tires and underbody, not off to one side.
- The car spans about 0.82 of the frame width. We measured ten: 0.80 to 0.85.
- A low camera. Roughly at headlight height, not looking down from standing eye level.
One finding matters if you run a small lot: the independents we could recognize mostly used a real photo with a phone-number band, while replaced backgrounds were mostly franchise and group stores. You do not need a studio look to look professional. You need a clean, consistent photo.
This is one zip code, one day and sponsored placements included, so treat it as a description of one page, not of the market. Dealer type was read from the images and not verified.
Before you shoot: the car and the spot
The fastest improvement costs nothing.
- Wash and dry the car. Water spots and dust show at full size. Clean the glass inside and out, and the tires.
- Clear the cabin. Remove air fresheners, papers, phone mounts and personal items. Center the steering wheel.
- Remove temporary stickers you would not leave on for the buyer, but keep anything that documents the car, such as a window sticker you plan to photograph on purpose.
- Pick a plain spot with room around the car. An empty end of the lot, a quiet street, a blank wall. Nothing tall should appear to grow out of the roof, and no other car should touch the outline.
- Pick the light. Overcast days and open shade give even light with soft reflections. In direct sun, keep the sun behind you and avoid midday. Avoid shooting with the sun behind the car.
If you plan to replace the background, the plain spot still matters. An editor works best when the whole car is visible, on pavement, with a clear gap between the car and anything behind it.
How to shoot car photos on a phone
- Hold the phone horizontally. Listings and editors use landscape frames.
- Use the 1× or 2× lens, never 0.5×. The ultra-wide lens stretches the nose and makes wheels look oval. Step back instead.
- Lower the phone to headlight height. Crouch for exterior shots. This is the single biggest difference between a casual photo and a dealer photo.
- Leave space around the car. Keep mirrors, bumpers and tires inside the frame with a margin. You can crop later; you cannot add a missing mirror.
- Turn the front wheels slightly so the rim faces the camera on the front three-quarter shot.
- Lock focus and exposure on the car, then keep the same position and height for the matching shot on the next vehicle. Our camera settings guide covers AE/AF Lock and dark cabins.
Take two of each angle. Check the first one at full size before you move on.
The shot list: same order, every car
Use a fixed order so each listing reads the same and nothing is forgotten. Our 12-shot checklist has the full list and a CSV with filenames. In short:
| Group | Shots |
|---|---|
| Exterior | Front three-quarter, straight front, driver-side profile, rear three-quarter, straight rear, passenger-side profile |
| Cabin and cargo | Dashboard, front seats, rear seats, cargo area, one feature detail |
| Proof | Odometer, with the car on |
Add photos of wear, damage, options and tires as needed. Twelve is a starting point, not a limit.
Put your car on a clean background
20 free AI photo edits a day. Copy your source vehicle onto a fixed background, then check the outline and plate cover. Sign in to start; no credit card needed.
Edit: background, framing, plate
Editing is where phone photos start to look like dealer photos. Three steps do most of the work:
- Replace or keep the background. A replaced background removes clutter and makes every car on your page match. A clean real background is also fine, and is what many small dealers use.
- Frame each car the same way. Center the car and size it so it spans roughly 80–85% of the frame width, with the tires on a consistent line.
- Cover the plate if you do not want it public.
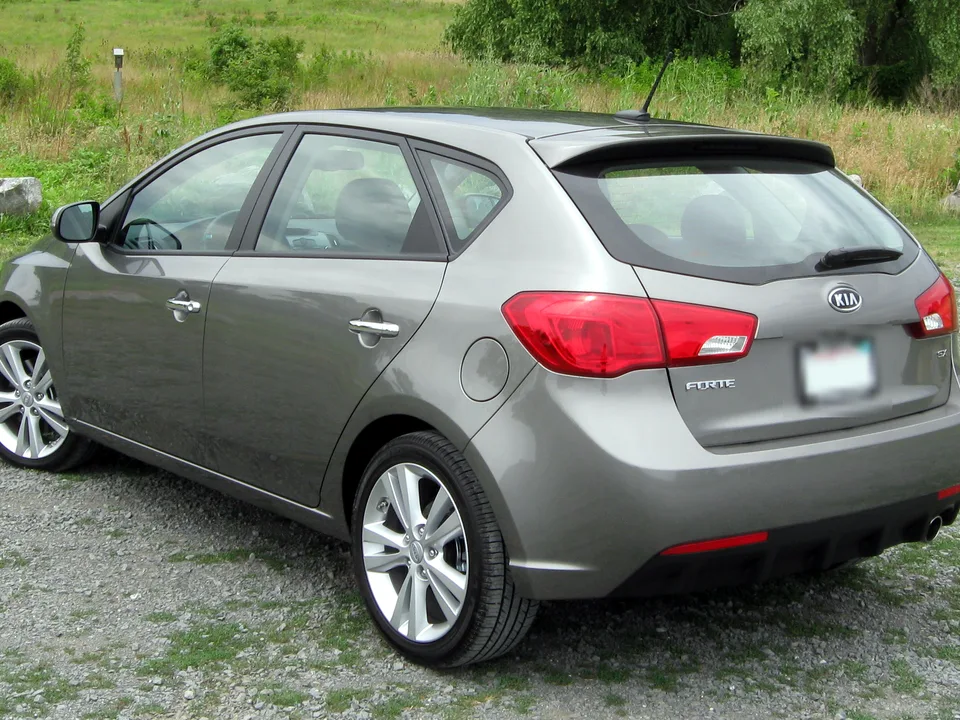
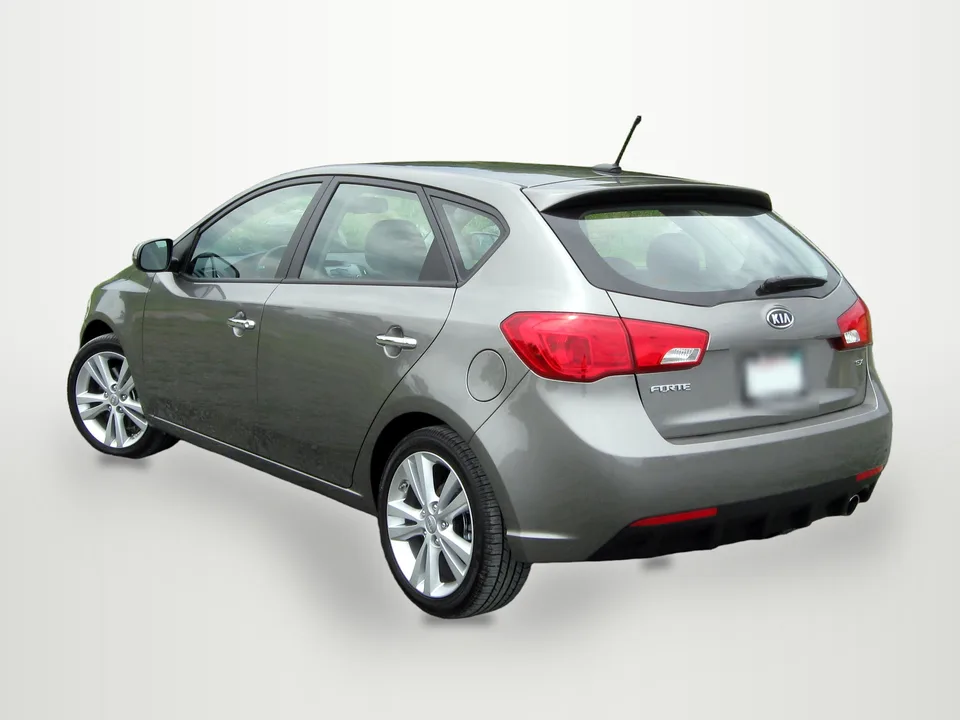
Photo: IFCAR, public domain, via Wikimedia Commons. Background replaced by HeyDreaming.

In HeyDreaming's car photo editor, you process one vehicle at a time under its stock number: pick a background, cover plates if you want, review each frame and download a ZIP named by stock number. The car body is copied from your photo, not redrawn. Interior and close-up shots stay as photographed. The first vehicle is free, up to 50 photos with no credit card.
Whatever tool you use, open every finished exterior photo at full size and check the mirrors, antenna, roof edge and the bottom of the tires before you post it. Background removal can clip a mirror or leave a piece of a neighboring car attached, and those mistakes are easy to miss in a thumbnail.
Selling your own car: making it look like a photographer took it
The routine above works the same for a private sale on Facebook Marketplace, Craigslist or a car listing site. A few changes for one car:
- Shoot in the morning or late afternoon in an empty parking lot or a quiet street, not your driveway with bins and other cars.
- Lead with the front three-quarter photo. It is the image that appears in the results grid.
- Show the boring proof: odometer, tires, any scratches. Buyers trust a set that shows flaws more than one that hides them.
- Do not hide condition with editing. A new background is fine; removing a dent is not. Our honest editing guide lists what to change and what to keep.
A private seller only needs one vehicle, so HeyDreaming's free first vehicle covers a whole sale.
What editing cannot fix
- A part you did not capture. If grass hides a tire or the frame cuts off a mirror, no editor can supply it. Reshoot instead.
- The view through the windows. HeyDreaming keeps the glass as photographed, so whatever was behind the car can still show through. Choose a shooting position with a plain view through the glass.
- Bad light. Harsh shadows across the body and blown-out white paint stay after the background changes.
- Consistency across a lot. One great photo does not make an inventory page look professional. The same angles, height and framing on every car do.
Frequently asked questions
Can you take professional car photos with a phone?
Yes. Modern phones are sharp enough for listing photos. The difference comes from technique: using the 1× or 2× lens instead of the ultra-wide, shooting at headlight height, using even light, keeping a plain spot and following the same shot list for every car.
How do I make my car photo look like a photographer took it?
Clean the car, park it somewhere plain with room around it, wait for overcast light or open shade, crouch to headlight height and use the 1× or 2× lens. Then edit for a clean background, centered framing and a covered plate. Keep the same order of shots so the set reads as one shoot.
Do I need a white background for car listing photos?
No. In our count of 90 CarGurus lead photos, 41–47% had a replaced background, and the small independent dealers we could recognize mostly used a real photo with a phone-number band. A clean, consistent real photo looks professional too.
How many photos should a used car listing have?
Start with 12: six exterior angles, five cabin or cargo views and the odometer. Add photos of options, tires and any wear. A buyer should be able to judge the whole car from the set.
What is the best time of day to photograph a car?
Overcast days and the hours after sunrise or before sunset give the most even light. If you must shoot at midday, use open shade and keep the sun behind you.
Will editing hide damage on the car?
It should not. Change the presentation, such as the background, framing and plate, but keep the body, glass and condition as photographed. Show scratches and wear in their own photos.
Next step
Save the 12-shot checklist, shoot your next vehicle with it, then try the first vehicle free in the car photo editor.
Put your car on a clean background
20 free AI photo edits a day. Copy your source vehicle onto a fixed background, then check the outline and plate cover. Sign in to start; no credit card needed.
Keep exploring